
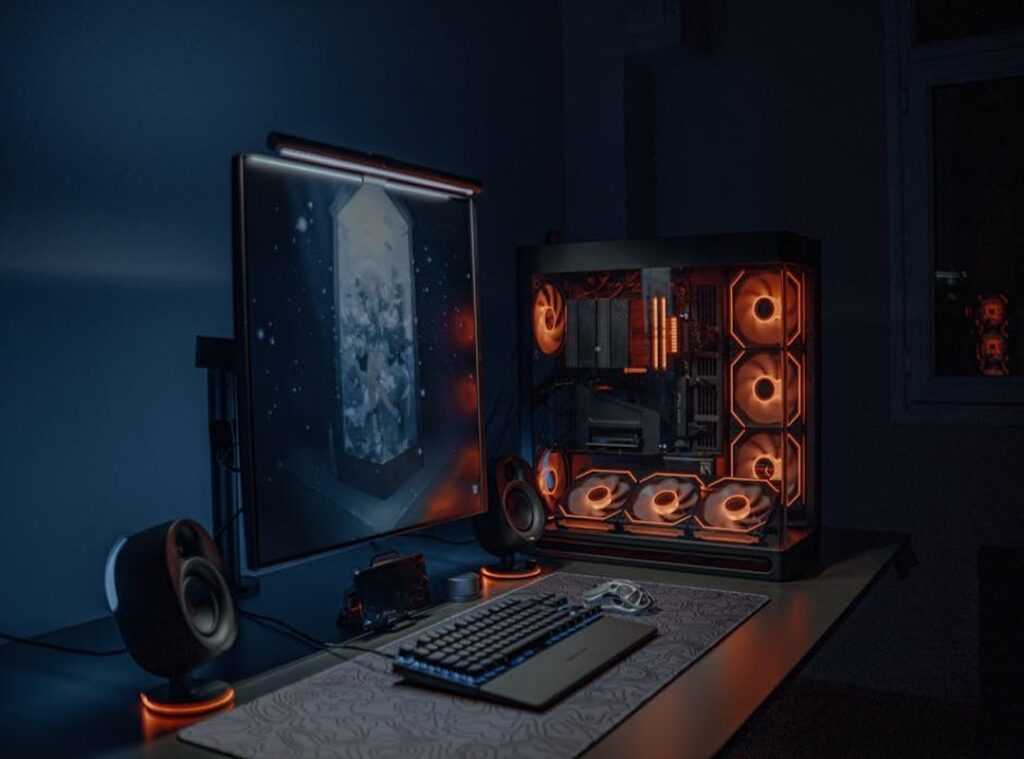
You finally have all the parts to build gaming pc, and they’re spread out in front of you. Exciting, right? But then doubt creeps in.
Where do you even start? I’ve been there, fumbling through manuals, watching countless videos, feeling overwhelmed. That’s why I put together this guide.
It’s based on years of experience and aims to steer you clear of rookie errors. No more guesswork, just a clear, step-by-step process to follow. By the end, you’ll transform that mess of components into a fully functioning gaming powerhouse.
Let’s turn anxiety into accomplishment. Ready to dive in?
Pre-Build Prep: Get Your Tools & Space Ready
You want a smooth build gaming PC experience? Prep is everything. Start with the basics.
A #2 Phillips head screwdriver (magnetic tip if you don’t want to chase screws), cable ties, and a flashlight. Trust me, you’ll need these. Ever tried building in the dark?
It’s not fun.
Optional but smart: an anti-static wrist strap. It stops static discharge from frying your components. Needle-nose pliers can save you from tight spot nightmares.
Now, your workspace. Find a large, clean table. Hard surface.
Forget carpet unless you like hunting for lost screws. Unbox those shiny new components. Lay them out neatly on anti-static bags.
Inspect them. You don’t want to find out something’s broken after it’s all put together.
And about organizing (think) of it like choosing between Wireless Vs Wired Controllers. It’s about preference and efficiency. Wired might seem messy, but it gets the job done.
Pro tip: keep a trash bin nearby. Those box pieces and plastic wraps pile up fast. If you skip this step, you’ll regret it halfway through.
A cluttered space leads to a cluttered mind. And that’s not what you want when building your dream PC.
Step 2: Core Components Unleashed
Building a gaming PC isn’t rocket science, but it sure feels like it sometimes. Let’s simplify things. The heart of the build starts with the motherboard, CPU, and RAM.
Trust me, it’s way easier to assemble these outside the case. Why struggle in a cramped space when you don’t have to?
First up, the CPU. Lift the retention arm (you’ll feel like a surgeon), align the triangle on the CPU with the socket, and gently place it in. It’s all about zero insertion force.
If you’re forcing it, something’s wrong. Lower the arm, and boom, you’re done. Next, the cooler.
Applying thermal paste is a bit like frosting a cake. Use the ‘pea method’ (just) a small dab will do. Secure the cooler’s mounting bracket without pretending you’re the Hulk.
Light touch, folks.
RAM installation, though, is like snapping Legos. Open the clips on the RAM slots, align the notch on the RAM stick with the slot, and press firmly. Listen for the click.
It’s satisfying. For dual-channel memory, use the correct slots (usually A2 and B2). Your motherboard manual is your friend here.
Now, before you move on, think about this: have you checked out this in-depth look at building PCs? It’s a goldmine for enthusiasts and beginners alike.
Pro tip: Always double-check connections. No one wants to tear apart a build because of a loose cable. The process might sound daunting, but once you get the hang of it, it’s smooth sailing.
Building a gaming PC is about patience and precision. So, take a deep breath and dive in.
Step 3: Moving In – Mounting the Motherboard and Power Supply
Let’s talk about motherboard standoffs. They’re tiny, but they matter. These little screws are what keep your motherboard from short-circuiting against the case.
You don’t want your build gaming pc to fry before it even gets started, right? It’s simple: match the standoffs with the screw holes on your motherboard. Take your time here.
It’s worth it.
Before you even think about the motherboard, remember the I/O shield. Trust me, you don’t want to forget this step. It’s a rookie mistake, and I’ve been there.
Install the shield before the motherboard. You can thank me later.
Lowering the motherboard onto the standoffs is a delicate process. Carefully align it with the I/O shield. Once everything is lined up, secure it with screws.
Here’s a pro tip: make them snug, but don’t overtighten. You don’t want to crack anything.
Now, onto the Power Supply Unit (PSU). Orientation matters. Depending on your case, the fan should face up or down.
If your case has a vent at the bottom, face the fan down. Otherwise, face it up. Once you’ve got that right, secure it with the four screws provided.
If you’re setting up your VR for an optimal experience, check out this Setting Up Vr Optimal Experience guide. It’s a good read, especially if you’re aiming to get the most out of your new rig.
Getting these steps right sets the foundation. It might seem tedious, but it’s key for a smooth build.
Step 4: Power Hits – Graphics Card & Storage Play
Alright, let’s get to the good stuff. The graphics card (or GPU) is the heart of your build gaming pc. Start by removing the right PCIe slot covers from the back of your case.

Now, find the motherboard’s primary PCIe slot and open up that retention clip. Gently but firmly press the GPU into place until you hear a satisfying click. That sound?
It means you’re winning.
Now for storage. Let’s talk SSDs and HDDs. What’s the difference?
A 2.5-inch SSD often mounts on a tray or behind the motherboard panel. Simple. Meanwhile, a 3.5-inch HDD?
Pop it into a drive cage. It’s bulkier, but hey, it’s got its charm.
Cables are next. You’ll need to connect the SATA data cable from the drive to the motherboard. Don’t stop there.
The SATA power cable from your PSU also needs a home on the drive. It’s like connecting the dots but way more rewarding (and geeky).
Pro tip: double-check your connections before you close up. Trust me, a loose cable can lead to a “why won’t this work?!” moment. Nobody needs that when you’re on the brink of gaming glory.
Step 5: Wiring It Up and the Moment of Truth
Alright, here we go. You’ve got your components lined up, and it’s time for the real deal. Start with the 24-pin motherboard connector.
That’s your beast. And don’t forget the 4/8-pin CPU connector, usually lurking at the top-left. Got a graphics card?
You’ll need those 6/8-pin PCIe connectors too.
Now, the front panel connectors. They’re a nightmare, aren’t they? Power switch, reset, LEDs.
Yep, you’ll definitely want your motherboard manual for this.
First boot is a moment of suspense. Fans spin, lights flicker. Will it work?
Then you hammer DEL or F2 to dive into BIOS/UEFI. The goal? Make sure all parts are talking to each other.
A successful BIOS entry is your first win when you build gaming pc.
Your Gaming Adventure Awaits
You did it. You nailed the build gaming pc. Remember that first wave of fear?
It’s gone, replaced by the thrill of victory. A methodical approach was all it took, right? Now, don’t stop here.
With your hardware ready, it’s time to drop in that operating system and dive into your favorite games. Who’s stopping you? Visit undergrowthgameline.com.co for tips and tricks.
Get gaming. You’ve earned it. You’re ready for action.
 gg_jaguar is the kind of writer who genuinely cannot publish something without checking it twice. Maybe three times. They came to multiplayer strategy sessions through years of hands-on work rather than theory, which means the things they writes about — Multiplayer Strategy Sessions, Trend Tracker, Controller and Hardware Setup Tips, among other areas — are things they has actually tested, questioned, and revised opinions on more than once.
That shows in the work. gg_jaguar's pieces tend to go a level deeper than most. Not in a way that becomes unreadable, but in a way that makes you realize you'd been missing something important. They has a habit of finding the detail that everybody else glosses over and making it the center of the story — which sounds simple, but takes a rare combination of curiosity and patience to pull off consistently. The writing never feels rushed. It feels like someone who sat with the subject long enough to actually understand it.
Outside of specific topics, what gg_jaguar cares about most is whether the reader walks away with something useful. Not impressed. Not entertained. Useful. That's a harder bar to clear than it sounds, and they clears it more often than not — which is why readers tend to remember gg_jaguar's articles long after they've forgotten the headline.
gg_jaguar is the kind of writer who genuinely cannot publish something without checking it twice. Maybe three times. They came to multiplayer strategy sessions through years of hands-on work rather than theory, which means the things they writes about — Multiplayer Strategy Sessions, Trend Tracker, Controller and Hardware Setup Tips, among other areas — are things they has actually tested, questioned, and revised opinions on more than once.
That shows in the work. gg_jaguar's pieces tend to go a level deeper than most. Not in a way that becomes unreadable, but in a way that makes you realize you'd been missing something important. They has a habit of finding the detail that everybody else glosses over and making it the center of the story — which sounds simple, but takes a rare combination of curiosity and patience to pull off consistently. The writing never feels rushed. It feels like someone who sat with the subject long enough to actually understand it.
Outside of specific topics, what gg_jaguar cares about most is whether the reader walks away with something useful. Not impressed. Not entertained. Useful. That's a harder bar to clear than it sounds, and they clears it more often than not — which is why readers tend to remember gg_jaguar's articles long after they've forgotten the headline.